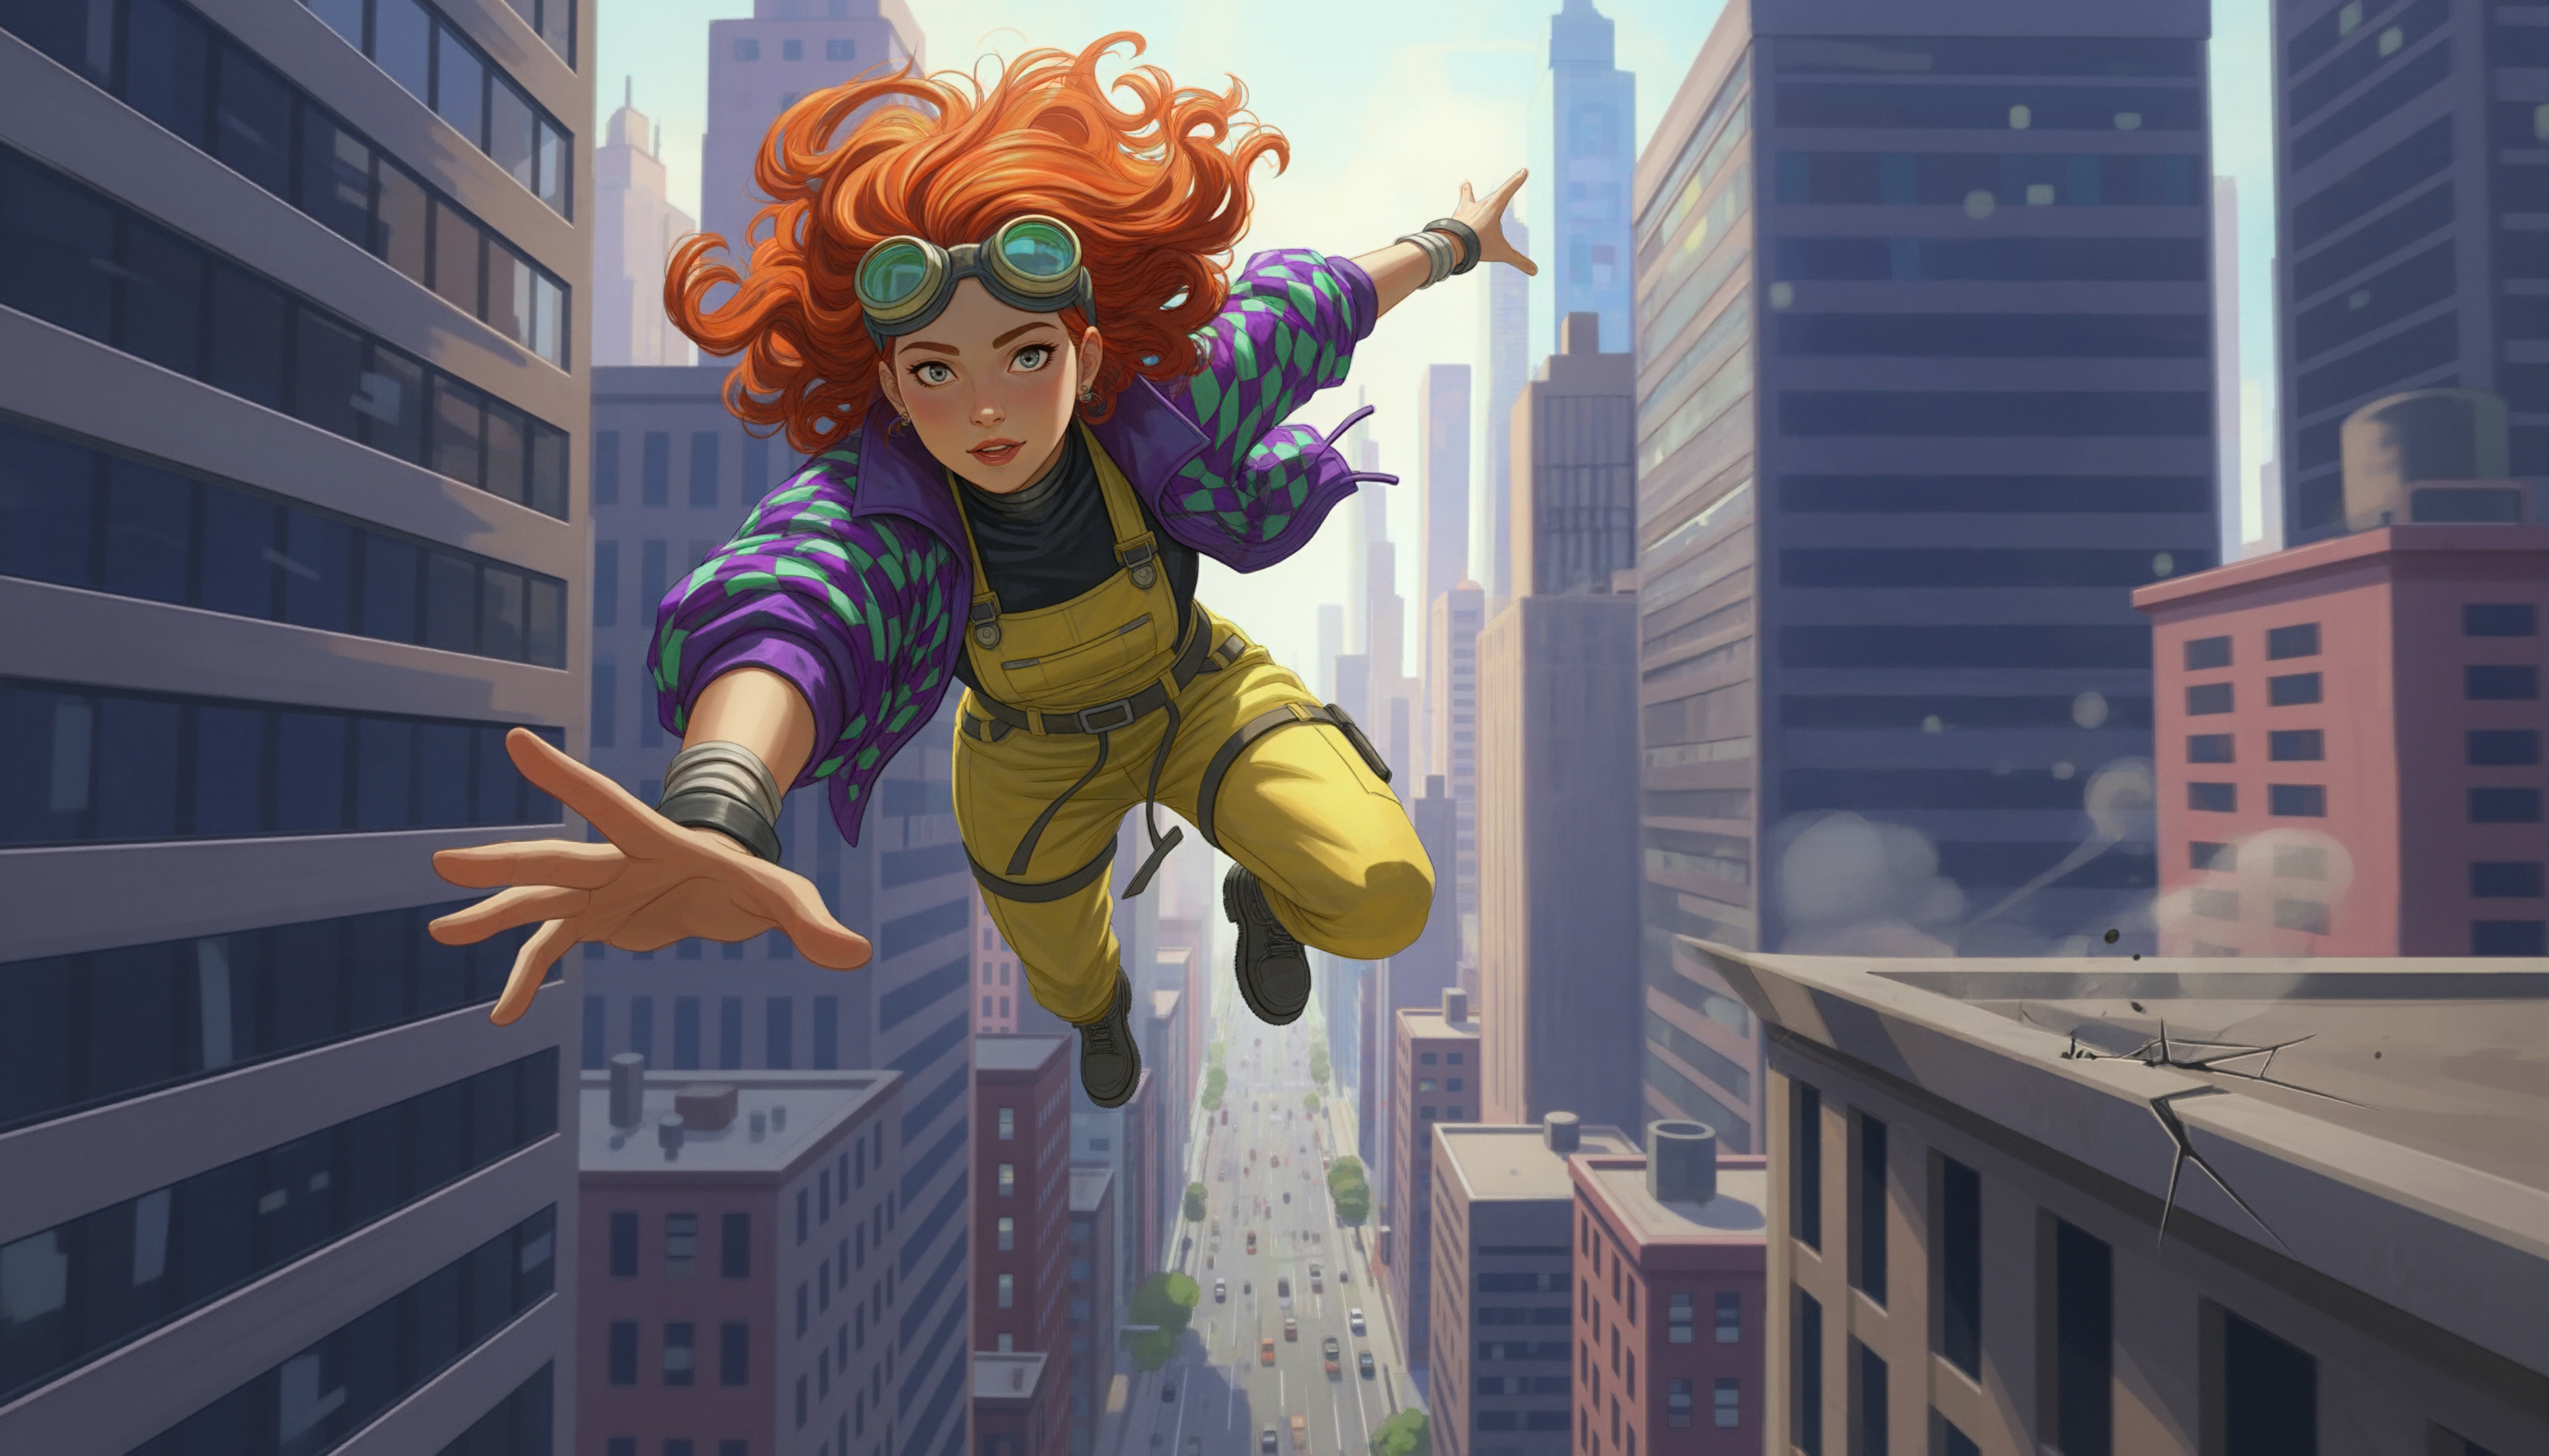
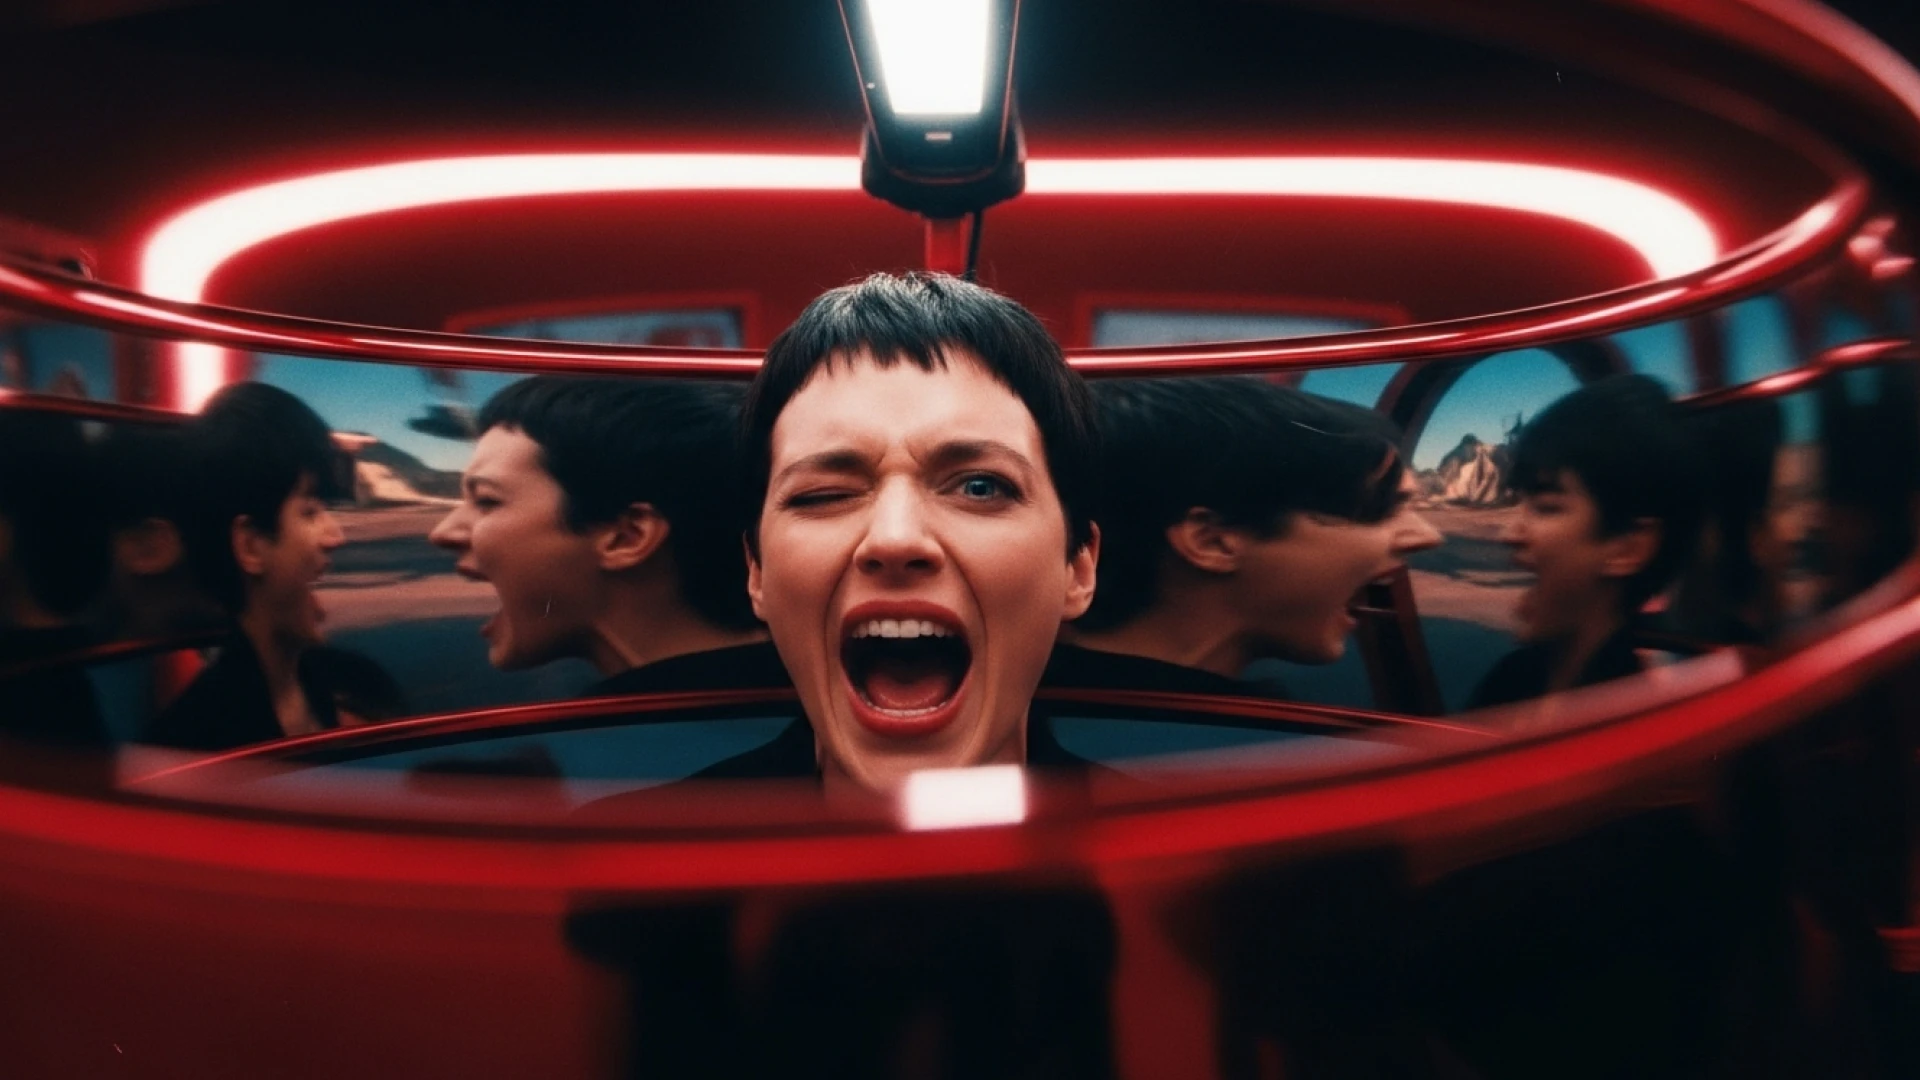
Static images are powerful, but motion transforms them into immersive experiences. A product photo becomes a dynamic showcase. A portrait gains emotional depth. A landscape invites exploration.
LTX Studio makes it easy to turn photos into videos with professional-grade motion. No filming required. No complex animation software. Just upload your image, describe the movement you want, and generate video in minutes.
This guide shows you how to transform images into videos using LTX Studio's current tools and workflows.
{{blog-banner-static03}}
Why Turn Photos Into Videos?
Video content outperforms static images across every marketing metric. It captures attention faster, communicates more information, generates higher engagement, and drives better conversion rates.
But traditional video production is expensive and time-consuming. Turning existing photos into video offers a middle ground—leveraging assets you already have while adding the dynamic qualities that make video effective.
Common Use Cases
Marketing and Advertising
Transform product photos into dynamic showcases that highlight features and benefits. Add motion to brand imagery for social media campaigns. Create eye-catching content from static assets.
Storyboarding and Pre-visualization
Bring storyboard frames to life to show how scenes will play in motion. Test camera movements and pacing before committing to production. Share animated previews with stakeholders for clearer creative alignment.
Social Media Content
Static images struggle to compete in busy social feeds. Adding subtle motion—a slow zoom, gentle pan, or atmospheric movement—dramatically increases stopping power and engagement.
Breathing Life Into Archives
Historical photos, family portraits, or archival imagery gain new relevance when animated. Create documentary content, memorial tributes, or historical presentations from still photography.
Generating Images for Video in LTX Studio
If you don't already have images to animate, LTX Studio's AI image generator creates high-quality visuals from text descriptions that you can immediately turn into video.
Creating Images from Text
Access Gen Space and select the Image tab to generate visuals from text prompts. Describe your desired scene with specific details about subject, composition, lighting, and style. LTX Studio generates professional images suitable for immediate animation.
This workflow is particularly valuable when you're building content from scratch. Generate exactly the image you need, then add motion in the same workspace without switching tools.
Choosing the Right Image Model
LTX Studio offers multiple image generation models including FLUX.2 Pro, Nano Banana Pro, and Z-Image. Each has different strengths:
- FLUX.2 Pro: Production-ready quality with exact brand color control
- Nano Banana Pro: Precision editing and complex scene reasoning
- Z-Image: Fast generation with excellent bilingual text rendering
Select the model that best fits your needs, generate your image, then proceed to add motion.
Preparing Generated Images for Animation
Once you've generated an image you're satisfied with, you can immediately convert it to video within the same Gen Space. Switch to the Video tab, select Image-to-Video, and your generated image is ready to animate.
This integrated workflow eliminates the traditional steps of exporting images, importing them into video software, and managing multiple tools. Everything happens in one environment.

How to Turn Photos Into Videos in LTX Studio
Whether you generated an image or uploaded your own photography, LTX Studio's image-to-video workflow in Gen Space makes adding motion straightforward.
Using Gen Space for Image-to-Video
Access Gen Space from your Project or from the LTX Studio homepage. Click on the Video tab and select Image-to-Video from the generation options.
Upload your image to the start frame area. This becomes the first frame of your video. LTX Studio will generate motion from this starting point based on your instructions.
Add a motion prompt describing what should happen: "camera slowly zooms in on subject," "leaves gently blowing in wind," "waves crashing on shore," or "product rotating to show all sides." The more specific your prompt, the more control you have over the resulting motion.
Select your video model—different models offer different strengths for motion quality and style. Generate and preview the results.
LTX Studio typically creates multiple variations, letting you choose the motion that best matches your vision.
Camera Motion Presets
For common camera movements, LTX Studio offers Camera Motion Presets that apply professional cinematography techniques instantly.
Available presets include:
- Dolly: Camera moves toward or away from subject
- Pan: Horizontal camera rotation across scene
- Tilt: Vertical camera movement up or down
- Crane: Sweeping vertical camera motion
- Zoom: Optical zoom in or out
- Static: Locked camera with subject motion only
These presets eliminate the need to describe complex camera movements in text. Click the preset you want, generate, and get professional camera work automatically. This is particularly useful for creators without cinematography experience who want professional results.
Adding Motion Prompts for Control
Beyond camera movement, motion prompts control what happens within the frame. Describe atmospheric effects like "rain falling gently" or "smoke drifting slowly." Specify subject movement: "person turns head toward camera" or "character walks forward."
Define scene dynamics: "traffic moving in background" or "clouds rolling across sky." Control speed and intensity: "slow gentle motion" vs. "fast dynamic movement."
Combining camera presets with motion prompts gives you comprehensive control over both how the camera moves and what happens within the frame.
{{blog-banner-video03}}
Creating Transitions Between Images
One powerful technique for photo-to-video conversion is creating motion between two different images, perfect for sequences and montages.
Generating Motion Between Start and End Frames
Upload your first image as the start frame. Then upload a second, different image as the end frame. LTX Studio generates the motion that transitions smoothly between these two images.
This creates seamless scene changes without filming or complex animation. The AI figures out how to move from image A to image B naturally, handling changes in composition, lighting, or subjects.
This technique works particularly well for storyboards where you're connecting multiple scenes, visual narratives showing progression or transformation, montages combining related but distinct images, and creative sequences where scene changes matter.
Best Practices for Photo-to-Video Conversion
Getting professional results from image-to-video conversion requires attention to both input quality and motion design.
Start with High-Quality Images
The quality of your video output depends on your input image. Use high-resolution photos (minimum 1080px), ensure good lighting and clear details, avoid heavily compressed or low-quality images, and choose images with clear subjects and composition.
Better inputs produce better motion results. Blurry or low-resolution photos won't magically improve when animated—they'll just be blurry videos.
Match Motion to Content
Different subjects require different motion approaches. Product photography works well with slow rotations or gentle zooms. Portraits benefit from subtle camera push-ins or atmospheric effects. Landscapes shine with sweeping pans or crane movements.
Consider what motion serves your content purpose. Marketing content might need energetic, attention-grabbing movement. Cinematic storytelling often calls for slower, more deliberate camera work.
Keep Motion Subtle for Professionalism
Excessive motion looks amateur. Professional video uses motion purposefully—to reveal information, create mood, or guide attention. Unless you're creating high-energy content intentionally, favor subtle movements over dramatic effects.
A gentle zoom or slow pan often works better than aggressive camera moves.
Test Multiple Variations
LTX Studio generates multiple motion options for each image. Review all variations before selecting one. Sometimes the AI surprises you with motion that works better than what you originally imagined.
Generate several versions, compare them, and choose the strongest result.
Consider Your End Platform
Different platforms favor different motion styles. Instagram and TikTok reward dynamic, attention-grabbing movement. LinkedIn and professional contexts call for subtle, refined motion. Paid advertising benefits from motion that draws eyes without feeling chaotic.
Generate motion appropriate for where your video will appear.
Advanced Image-to-Video Techniques
Beyond basic motion addition, you can use image-to-video capabilities for sophisticated creative effects.
Extending Static Moments
Sometimes you need a scene to hold longer than a static image provides but don't have video footage. Convert your image to video with minimal motion—subtle atmospheric effects or gentle camera drift—to extend the moment while maintaining visual interest.
This technique works for B-roll, establishing shots, or moments where you want viewers to absorb detail without distraction.
Testing Camera Angles Before Filming
For filmmakers in pre-production, animate storyboard frames with different camera movements to visualize how shots will play. Test whether a dolly shot or static frame better serves each scene. Experiment with pacing and movement before committing to production.
This pre-visualization saves time and money by identifying what works before you're on set with crew and talent.
Repurposing Still Photography
Photographers sitting on archives of strong images can repurpose that work into video content. Add motion to portfolio pieces for showreels. Transform still photography into social media video content. Create video presentations from photo essays or series.
This extends the value of existing assets without requiring new production.
Combining with Other LTX Studio Features
Image-to-video works seamlessly with other LTX Studio capabilities. Generate images, add motion, then incorporate them into Projects with other video content. Save animated images as Elements for reuse across scenes. Use Retake to adjust specific moments within animated photos.
The integrated workflow means your photo-to-video content becomes part of larger productions effortlessly.
Conclusion
Turning photos into videos opens creative possibilities that weren't practical with traditional animation or filming. LTX Studio makes this transformation accessible through intuitive Gen Space workflows, AI-powered motion generation, Camera Motion Presets, and comprehensive control over both camera and subject movement.
Whether you're creating marketing campaigns, building storyboards, producing social content, or bringing still photography to life, image-to-video capabilities accelerate production while maintaining professional quality.
The technique eliminates barriers between static and motion content. Your photo library becomes a video asset library. Creative concepts expressed in single images expand into dynamic visual storytelling.
Ready to animate your images? Start using LTX Studio's image-to-video tools and experience how adding motion transforms static content into engaging video.
Turn Photo Into Videos FAQs
How do you turn a photo into a video with motion?
Use LTX Studio's Genspace by uploading your image to the start frame area, describing the movement you want in the Motion Prompt box (like "waves crashing" or "leaves blowing"), and previewing AI-generated motion options. The platform provides frame animation, camera controls, and keyframe tools for professional-grade motion.
What is the best tool to animate still photos into videos?
LTX Studio is the best tool for animating photos into videos, offering multiple methods including frame animation with AI-generated motion suggestions, camera control with preset movements like zoom and tilt, keyframe controls for precise transitions, and automatic motion generation between consecutive shots for seamless scene transitions.
Can you create professional video transitions from images?
Yes, using LTX Studio's keyframe controls you can create professional transitions by setting start and end frames, duplicating frames, adjusting elements with generative fill and object removal tools, and adding motion prompts to clarify changes. The platform also extends shot duration and upscales to HD for cinematic quality.


.png)

.png)


